Keep the combat away from you. Often you’ll see groups of tanks engaged in combat, with each trying to breakthrough to the other side. So which group should you support?
Support the group that is most threatening to you – and that’s usually the group closest to your position. Its imperative that you stop the enemy that’s trying to advance to your base, because once they reach your base, your own survival is at stake. You need to stay alive, and you’re no good to your team if you’re dead.
If you see that the enemy has broken through your defenders, then relocate immediately. Don’t wait until they reach your base because it would be too late. Abandon your position, and run to the other side of the map, or to the center, or somewhere far away, where you still can hit on players trying to capture your flag.
Try to hide several hundred meters behind your team. This way you depend on them to spot for you, or even protect you while you fire from a safe distance. There are actually some good players who actually rush to arty’s aid, but granted there are more than an equal number of noobs too who leave their arty to their own fate.
Use the T Button
When attacking a player, press the T button often to tell your team who you’re targeting. You’ll be surprised that good players actually pick this up, and if they know they have arty support, they may just retire to spotting for you while remaining behind cover - instead of putting themselves in the line of fire.
Targeting Guide
Fire only when the aiming reticle has reached its smallest. It takes a long time for a SPG’s targeting reticle to reach its smallest circle - and an even longer time to reload. As a rule of thumb, fire only after your reticle has reached its smallest circle. This gives you highest accuracy.
Put off the temptation to shoot prematurely, and be patient. For me, I won’t shoot until the reticle has reached its smallest circle – even if it means missing an opportunity to fire. If you shoot prematurely, your shot will most likely miss, and you’ll need to wait for a long reload. As a guideline, don’t shoot prematurely. The exception is for self defense, when you need to get off that shot for your own survival.
Aim behind. Due to the shell trajectory, target a little behind the enemy. You have a better chance of hitting. See pics below :-
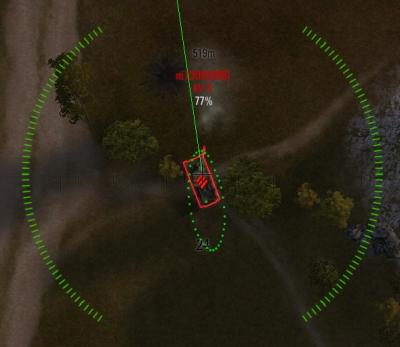
Aim ahead. When hitting moving targets, it is necessary to anticipate where the enemy will be 2 or 3 seconds in the future and shoot at that spot. Depending on your distance to the target, your shell can land in 0.5 seconds, or in 4 seconds.
Accurately aiming ahead of a moving target comes with practice and skill, and with some luck, you can hit a moving target.
Fire Blind. Blind fire certainly works – especially against noobs, and tank destroyers, arty or even tanks hiding at base, and they hadn’t realize they were spotted.
If you see an enemy comfortably settled, and if they didn’t move from their spot, then you have a good chance to fire at that spot – even if you had to do it blind. You can even fire blind at moving targets and still score a kill.
When you see too many targets on the map, take a note where TDs and defending tanks are hiding. Remember which bush, and which rock. Then come back later and fire blind at those spots.
Blind fire works. It has worked too many times, got me too many kills – that any good arty player must fire blind when the circumstances look promising.
Use Splash Damage
Especially for higher tier SPGs, you can hit a tank even if you have no direct line of fire. Most arty players don’t capitalize on splash damage – and I was one of them.
I really learnt the usefulness of splash damage when there were two tanks hiding behind a rock. Their path was blocked, but I let off anyway at the nearest point, and boom – I killed both of them in one shot. Since then, I began using splash damage to target enemies hiding behind rocks.
Once there was a Panther II hiding behind a house. He had about 65% of health left, and the house was shielding him. So I aimed as close to the ground next to the house as possible, and the splash damage killed him.
How far is the radius of your splash damage? It differs from SPG to SPG. Check your splash damage radius. The SU-14 splash damage radius is about 6.9 meters. The Tiger's length is about 6.3 meters. That means the splash damage of a SU-14 HE round is longer than the length of a Tiger. Since everyone knows how long is a Tiger, I too use that to measure the effective range of my splash damage.
Priority of Targeting
When presented with multiple targets, you need to prioritize whom to attack. Let’s say there’s a light tank, tank destroyer, medium and heavy tanks, and SPGs. Some are moving, some are hiding. Some are almost dead, and some are at full health. So whom should you target first?
A word of advice. Don’t waste time chasing that tank that is running all over the map. Its better to choose a stationary target. That's the first rule I use.
With all else being equal, enemy SPGs should be your first priority. Followed by tank destroyers, heavy tanks, and then the rest.
Also try to prioritize on nearly dead enemies. If a IS-7 is at 5% health, even splash damage is enough to kill it. So when possible, completely take out one enemy first, then move on to another.
Lastly, remember when there are multiple targets available and you can't hit them all. Quickly note where TDs and arty are hiding. After you have reloaded, come back at fire blind at those spots.
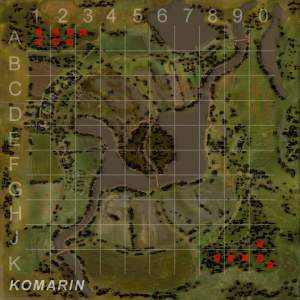
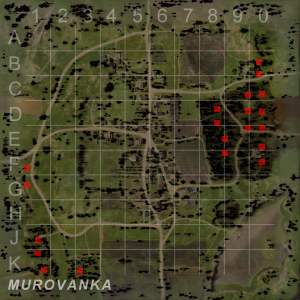
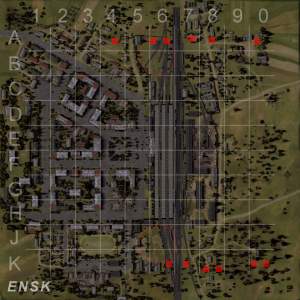
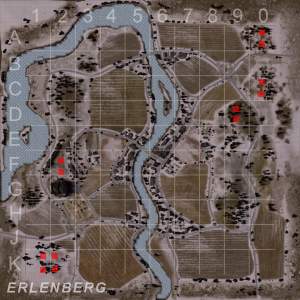
Not All Maps Are Equal
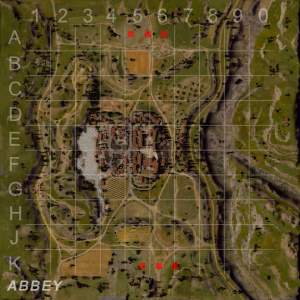
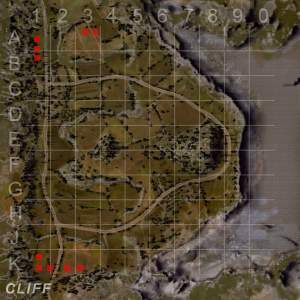
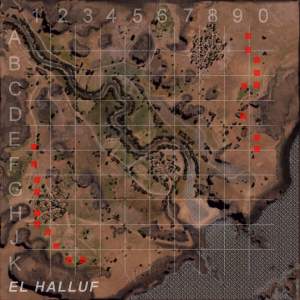
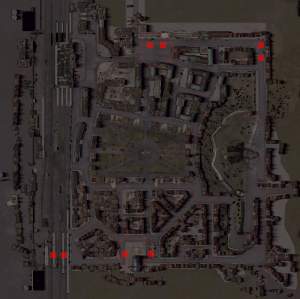
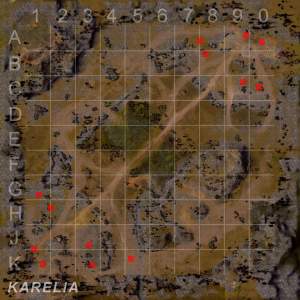
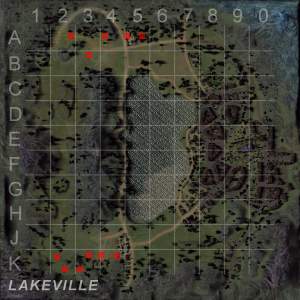
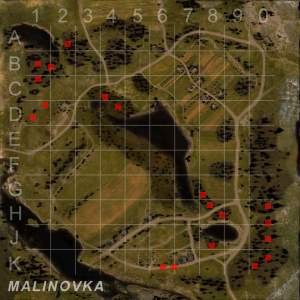
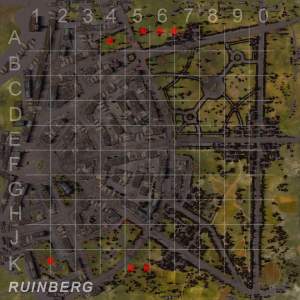
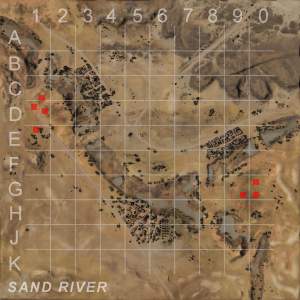
Know the map where you’re playing. Not all maps are equal. Some maps like Himmelsdorf and Ensk are among the worst maps for arty – and you will get different results based on the map you’re playing.
Some maps are 600x600, some 800x800 and some 1000x1000. Be familisr with arty hiding spots – watch where your arty hides, or play as arty yourself to know the maps.
Top Gunning in a SU-26 SPG Arty Video
Finally, here's top gun a video for you. This video demonstrates arty hiding position, firing only when reticle has reached its smallest circle, aiming behind target, aiming ahead of target, and even blind firing to score a kill!!!